Build a Custom Steering Wheel with Arduino and Unity: A Complete Guide
Have you ever wanted to control a Unity racing game using a real physical steering wheel? For many enthusiasts, standard keyboard controls lack the tactile precision and immersion that a physical wheel provides.
So, in this project, we are going to build a simple Arduino steering wheel controller using a potentiometer and connect it to the Unity game engine.
This is a great beginner-friendly project for anyone interested in Arduino, Unity, game development, electronics, and DIY controllers: The idea is simple:
Turn the physical steering wheel → Arduino reads the potentiometer → Arduino sends the value to Unity → Unity moves the car.
1️⃣ What You’ll Need?
🧰 Components Required
To build this project, you’ll need the following components:
- Arduino Uno (or compatible board)
- A Potentiometer
- Plastic Steering wheel
- USB cable
- Jumper wires
- Computer running Unity
I highly recommend getting a complete starter kit that includes everything you need to create so many projects, including this snake game.
📦 Software
- Arduino IDE or VS Code & PlatformIO
- Unity Game Engine
- Unity project with a car controller
Note: If you haven’t set up your Arduino IDE or Unity yet, please follow my Unity and Arduino IDE Guides before proceeding.
2️⃣Step-by-Step Guide:
⚙️ Step 1:Wire the Potentiometer to the Arduino
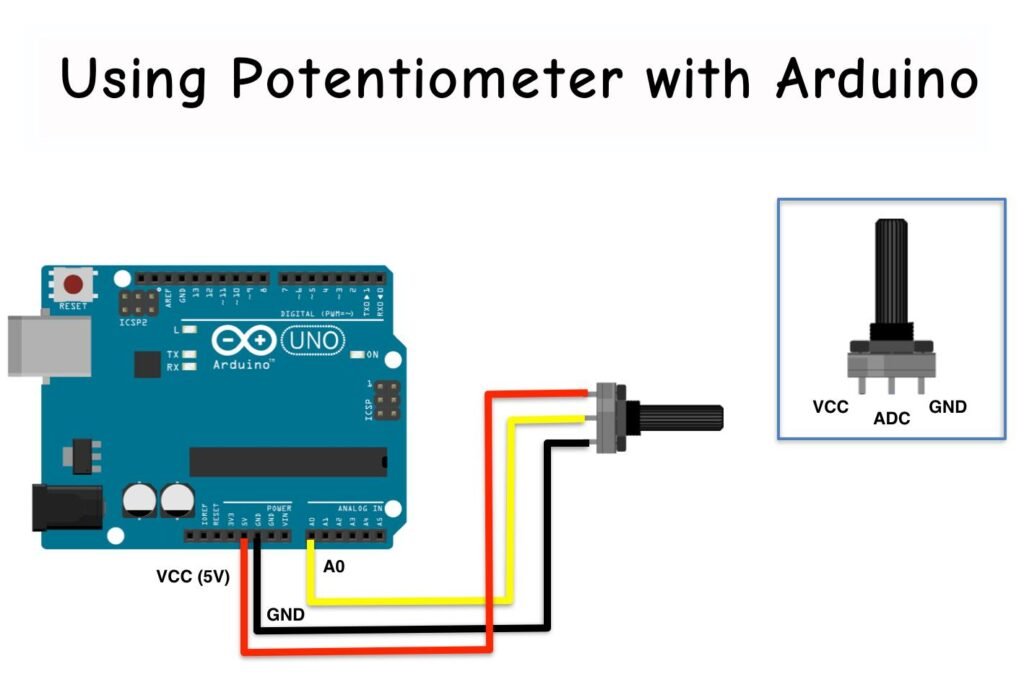
A potentiometer has 3 pins. Here’s how to connect them:
| Potentiometer Pin | Connect To |
|---|---|
| Left pin | GND on Arduino |
| Middle pin (wiper) | A0 on Arduino |
| Right pin | 5V on Arduino |
👉 Why this works: The potentiometer acts as a voltage divider. As you turn the knob, the voltage on the middle pin changes between 0V and 5V. The Arduino reads this voltage on analog pin A0.
🔌 Step 2: Building the Physical Steering Wheel
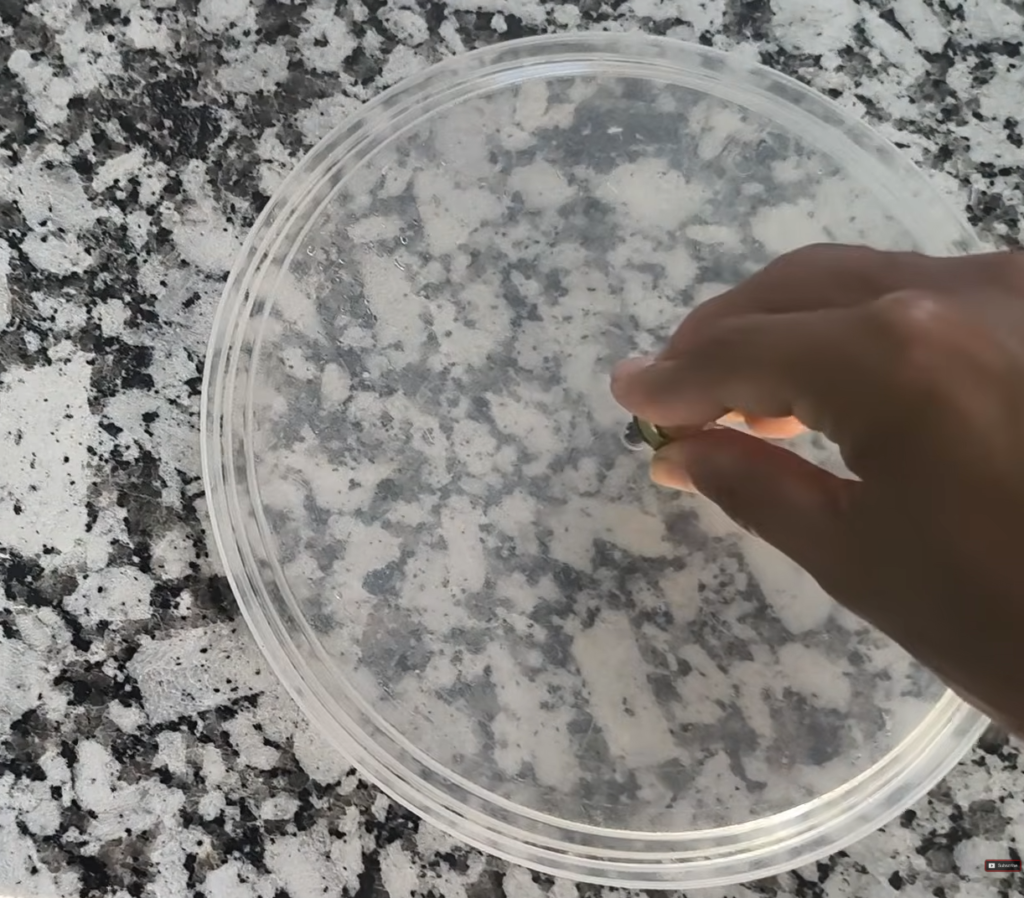
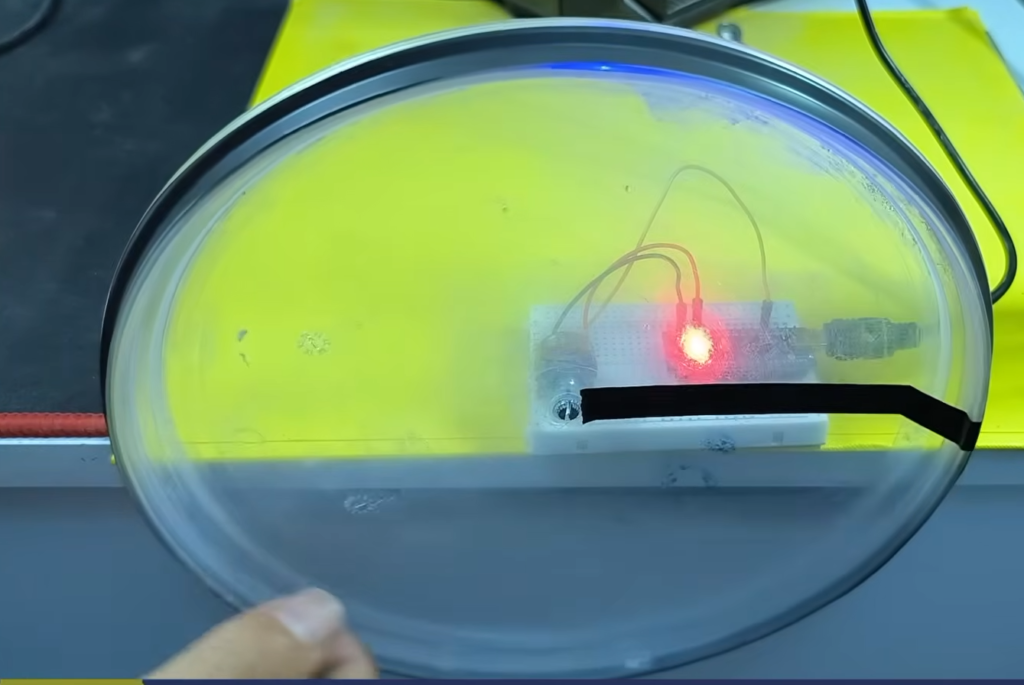
The physical steering wheel can be as simple or as advanced as you want.
The important part is connecting the steering mechanism to the potentiometer so that rotating the wheel also rotates the potentiometer.
A simple design could use:
- Cardboard or Wood
- 3D Printed Parts
- Plastic or Modified Toy Wheel
🧠 Step 3: Programming the Arduino
Once the hardware is connected, we need to write a simple Arduino program:
const int steeringPin = A0; //Define the Steering Pin

void setup()
{
    Serial.begin(9600);    //Start Serial Communication
}

void loop()
{
    int steeringValue = analogRead(steeringPin); //Read the Potentiometer

    Serial.println(steeringValue);               //Send the Value

    delay(20);
}
The Arduino will continuously read the potentiometer and send the value through the Serial Monitor:
analogRead(steeringPin)reads the voltage on A0 and returns a number from 0 to 1023Serial.println()sends that number to your PC over USB- The 20ms delay keeps things smooth without spamming the serial port
To Upload it:
- Select Tools → Board → Arduino Uno (or Nano)
- Select Tools → Port → (your COM port)
- Click the Upload button (right arrow icon)
Test it: Open Tools → Serial Monitor, set baud to 9600, and turn the knob. You should see numbers changing from 0 to 1023.
💻 Step 4: Creating the Unity Project
Now that the Arduino is working, we can move to Unity to create a new project or open your existing racing game project.
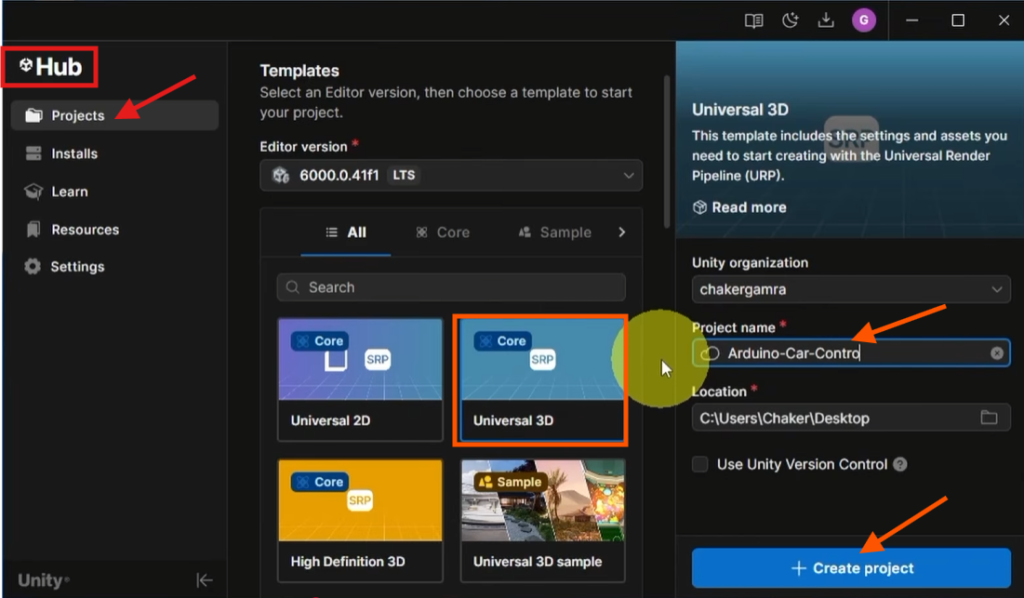
For this tutorial, you can use any car controller that lets you control the steering. The exact car physics don’t matter. For me, I will use this Unity project with a built-in car controller:
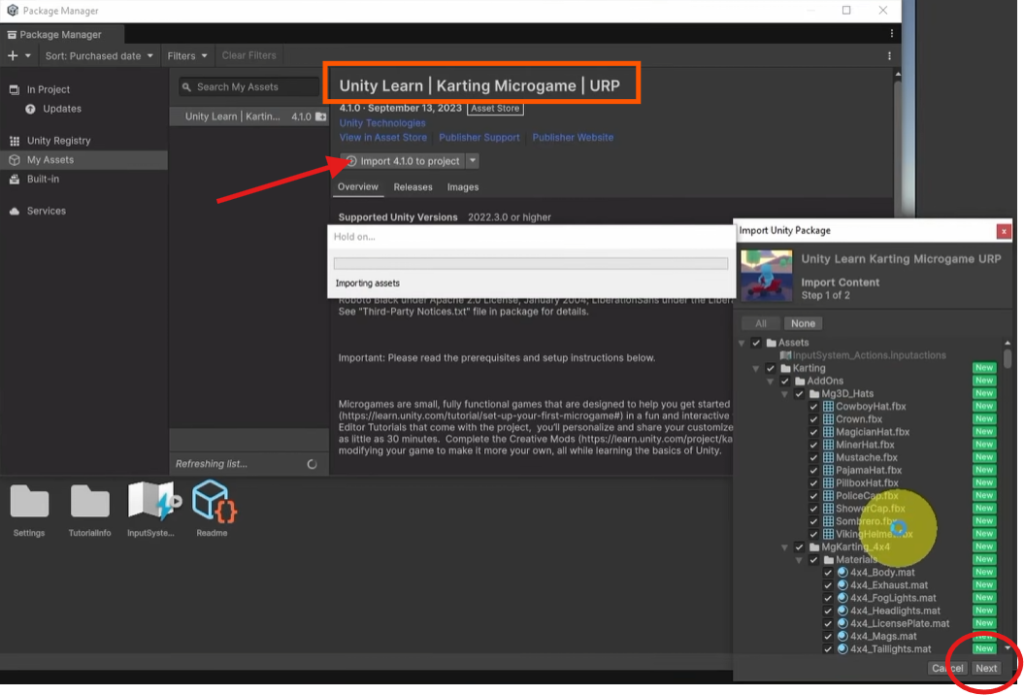

Our goal is simply to replace the keyboard steering input with the value coming from Arduino.
📊 Step 5: Connecting Arduino to Unity
Unity doesn’t read serial ports out of the box, so we need a small C# script using the System.IO.Ports namespace.
In Unity, go to Edit → Project Settings → Player → Other Settings and set:
- Api Compatibility Level →
.NET 4.x(or.NET Framework)
👉 This is required for System.IO.Ports to work.
Now we can open the C# script that controls the car with the arrow keys. In this project, it is called “KeyboardInput.CS”
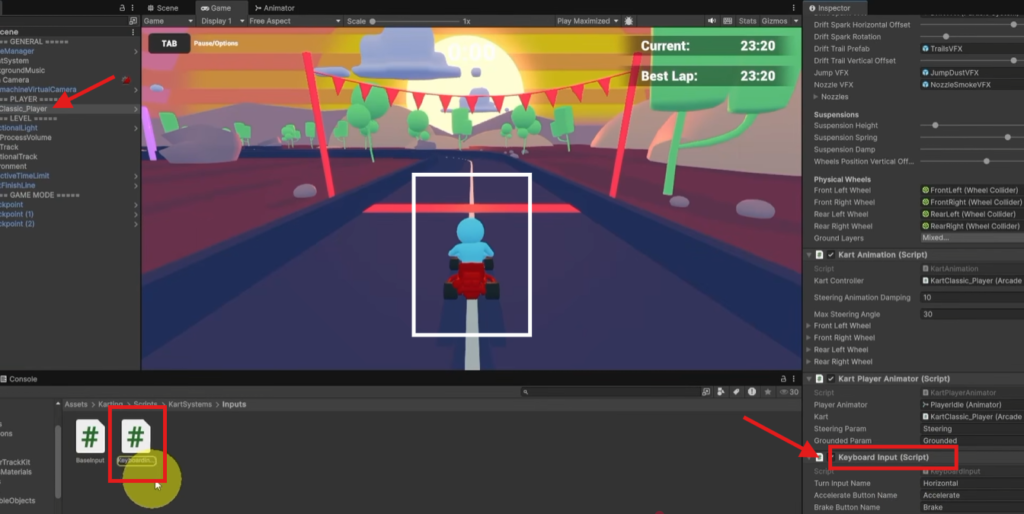
Then replace this adjusted code:
using UnityEngine;
using System.IO.Ports;

namespace KartGame.KartSystems {

    public class KeyboardInput : BaseInput
    {
        SerialPort serialPort = new SerialPort("COM3", 9600);
        float steeringValue = 0;
        public string TurnInputName = "Horizontal";
        public string AccelerateButtonName = "Accelerate";
        public string BrakeButtonName = "Brake";

        void Start(){
            serialPort.Open();
            serialPort.ReadTimeout = 50;
        }
        void Update()
        {

            string data = serialPort.ReadLine();
            int value;
            if (int.TryParse(data, out value))
            {
                steeringValue = Mathf.Lerp(-1f, 1f, value / 1023f);
            }
        }

        public override InputData GenerateInput() {
            return new InputData
            {
                Accelerate = true,
                Brake = Input.GetButton(BrakeButtonName),
                TurnInput = steeringValue
            };
        }
    }
}
- Now Save your Script.
- Make sure to close the Arduino IDE.
- And run the Game using the Unity Run Button.
3️⃣ Troubleshooting
❌ “Port not found” or “Access denied”
- Close the Arduino Serial Monitor — only one program can use the port at a time
- Double-check the COM port name in Device Manager (look for “Arduino Uno (COM3)” (or similar))
- On Mac/Linux, you may need permissions:
sudo chmod 666 /dev/ttyUSB0
❌ Steering is inverted
- Multiply
steeringValueby-1
❌ Unity freezes when pressing Play
- Your
ReadTimeoutmight be too high — keep it at 50ms or lower - Make sure the Arduino is actually sending data (test in Serial Monitor first)
❌ Values jump around randomly
- Add a low-pass filter:
smoothedValue = Mathf.Lerp(smoothedValue, raw, 0.2f);
🏁 Conclusion
You’ve just built a functional custom steering wheel using an Arduino and Unity. From here, you can:
- Add a pedal using a second potentiometer on A1
- Add buttons for shifting or handbrake
- Add force feedback with a motor (advanced)
- Build a physical wheel by mounting the pot on a shaft with a 3D-printed rim
The same pattern — read analog value → send over serial → map in Unity — works for pedals, flight sticks, and just about any custom controller you can dream up.
If you build this, I’d love to see it! Drop a comment with your setup, and don’t forget to check out the full video tutorial for a visual walkthrough of every step.
Happy racing! 🏎️