How to Start Your Smart Home: Step-by-Step
Welcome to the First Step in transforming your home from “dumb” to brilliantly smart—no computer science degree required.
The Night That Started It All
It was 2 a.m. I had just settled into bed when a thought suddenly crossed my mind:
“Did I lock the front door?”
Twenty minutes later—after checking the doors, turning off the forgotten lights, and adjusting the thermostat—I was fully awake. That’s when I realized: my house should be at my service, not the other way around.
And here’s the best part: you don’t need to be an engineer or spend thousands of dollars to get started. With simple tools and beginner-friendly technology, anyone can build a smart home that saves time, improves comfort, and adds peace of mind.
In this guide, you’ll learn how to get started with a smart home, what you really need as a beginner, and how to take your first steps into home automation with confidence.
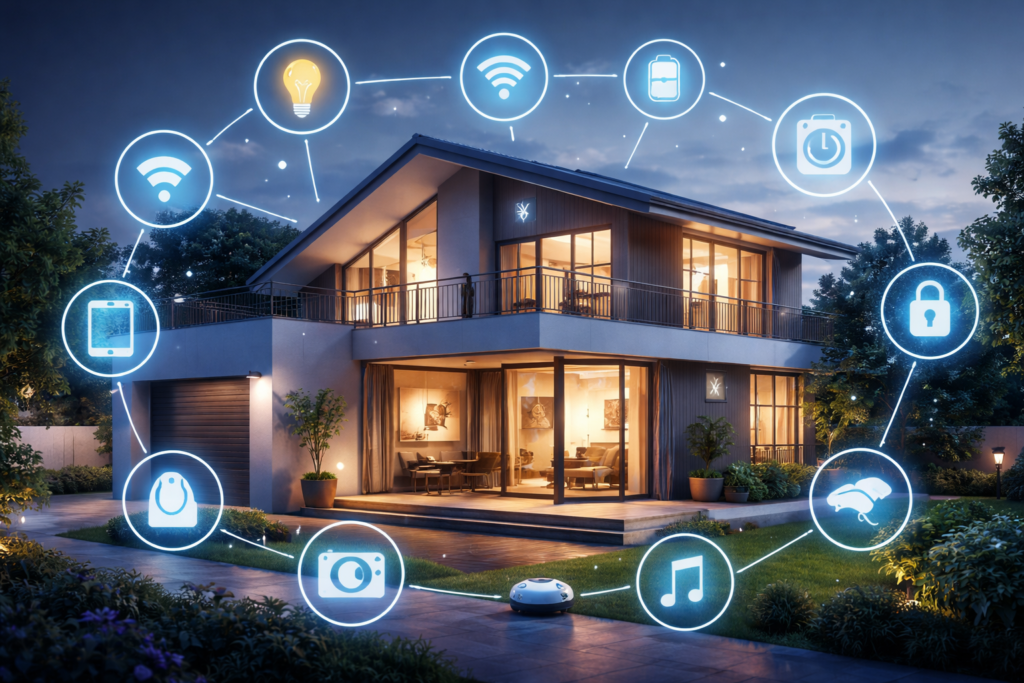
What Exactly Is a Smart Home?
A smart home is a home where devices such as lights, sensors, switches, and appliances can be controlled automatically or remotely using software, apps, or voice assistants.
So smart home devices can:
- Turn lights on and off automatically
- Monitor temperature and humidity
- Detect motion or door openings
- Send notifications to your phone
- Run automation rules (for example: turn on lights at sunset)
What Do You Need To Get Started?
You don’t need to automate your entire house at once. A beginner setup only requires these 5 basic components.
1️⃣ A Smart Home Controller (Brain)
This is the central device that manages everything. Think of it as the central hub that coordinates lights, sensors, cameras, and automation rules.
We can define 3 main hub types:
- Dedicated Smart Home Hub: Samsung SmartThings, HomePod Mini, or Amazon Echo Hub.
- Software Hub (DIY Power) using Raspberry Pi: it is affordable, free, highly flexible, and supports almost every device.
- Microcontroller Hub: Including the ESP32 or Arduino, which can manage specific devices or sensors and send data to the main hub.
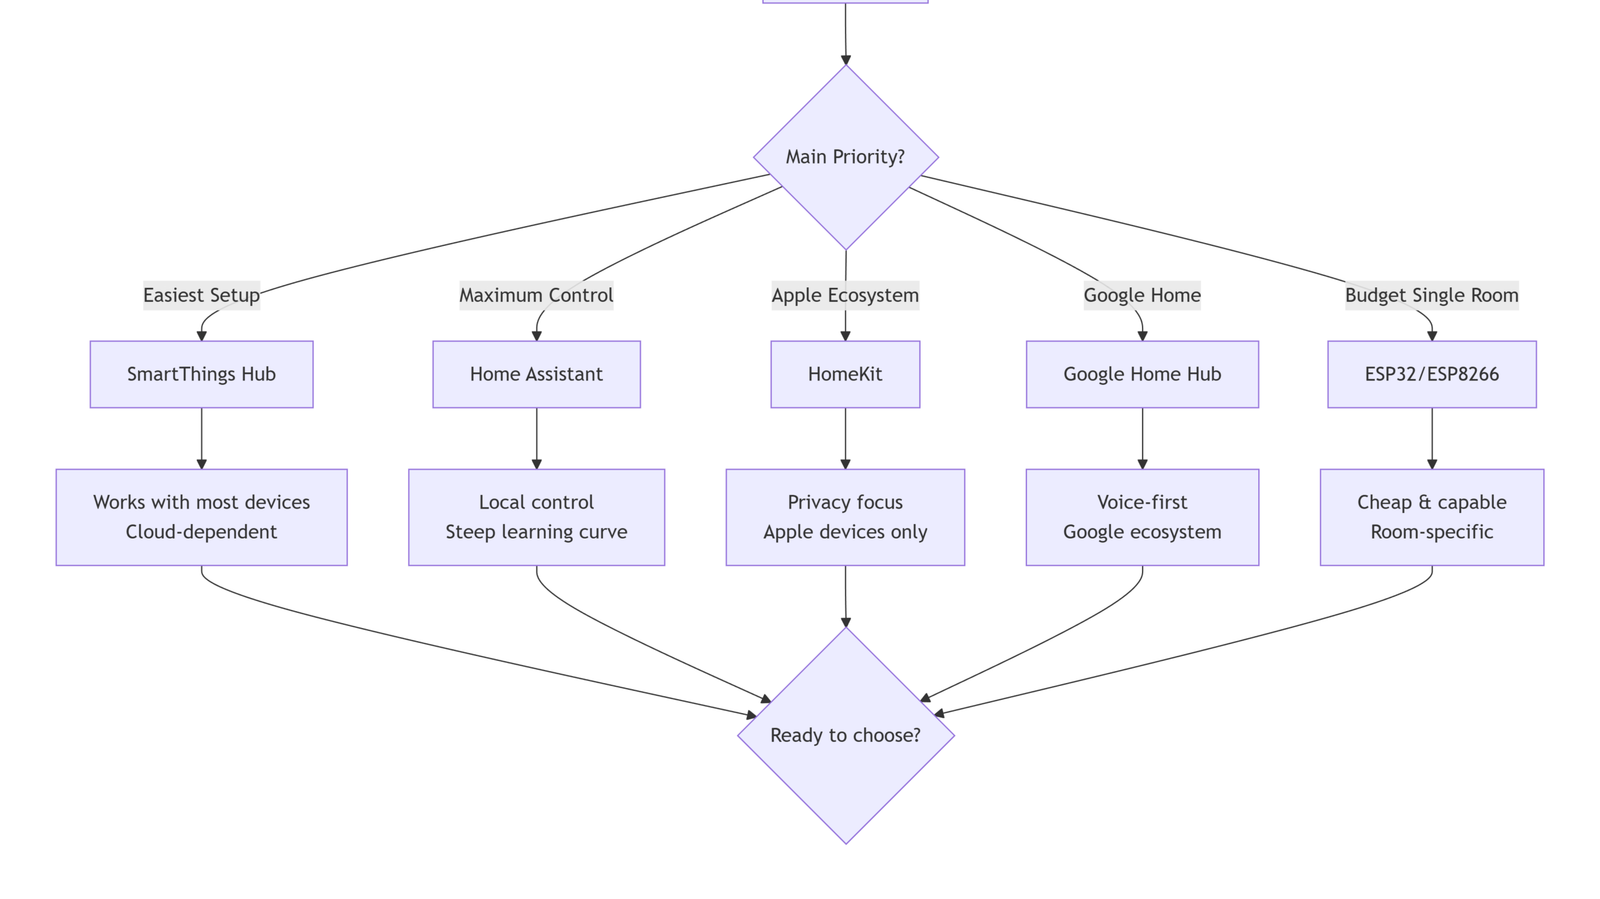
👉 Raspberry Pi (Home Assistant) is highly recommended, and it is my best choice for Anyone who wants full control and learning opportunities.
| Hub | Wi-Fi | Zigbee | Z-Wave | Bluetooth | Thread | Matter |
|---|---|---|---|---|---|---|
| SmartThings | ✅ | ✅ | ✅ | ✅ | ✅ | ✅ |
| Home Assistant | ✅ | ✅* | ✅* | ✅* | ✅* | ✅* |
| Hubitat | ✅ | ✅ | ✅ | ❌ | ❌ | ❌ |
| Apple HomeKit | ✅ | ✅** | ❌ | ✅ | ✅ | ✅ |
| Google Home | ✅ | ❌ | ❌ | ✅ | ✅ | ✅ |
| ESP32 | ✅ | ✅*** | ❌ | ✅ | ❌ | ❌ |
*With USB sticks
**With a compatible bridge
***With CC2652P module
2️⃣ Smart Devices (The Things You Control)
Smart devices are what you’ll control, monitor, and automate. Start with a few key items that solve real-life problems, for instance, automated lighting or energy monitoring.
Here are 4 Beginner-friendly devices:
- 💙 Smart Lights – Control brightness and color with your phone, voice, or automation rules: (Philips Hue, TP-Link Kasa, Lifx)
- 💙 Smart Plugs / Relays – Turn any appliance on/off remotely or automatically, like lamps, fans, or coffee makers (Sonoff Basic, TP-Link Kasa Smart Plug, Shelly Plug)
- 💙 Sensors – Detect motion, doors/windows opening, temperature, or humidity, and trigger automations or notifications (Sonoff SNZB-01, Aqara Motion Sensor, ESP32-based Sensors)
- 💙 Smart Thermostats – Adjust heating or cooling automatically based on schedules or room temperature (Nest Thermostat, Ecobee, Honeywell Home)
- 💙 Smart Security Devices – Cameras, smart locks, and door/window sensors help protect your home and send notifications (Ring Doorbell, Smart Camera, Smart Lock)
- 💙 DIY Microcontrollers – Programmable devices for learning, custom sensors, and advanced automations.
- Examples: Raspberry Pi, ESP32, Arduino, Sonoff DIY modules
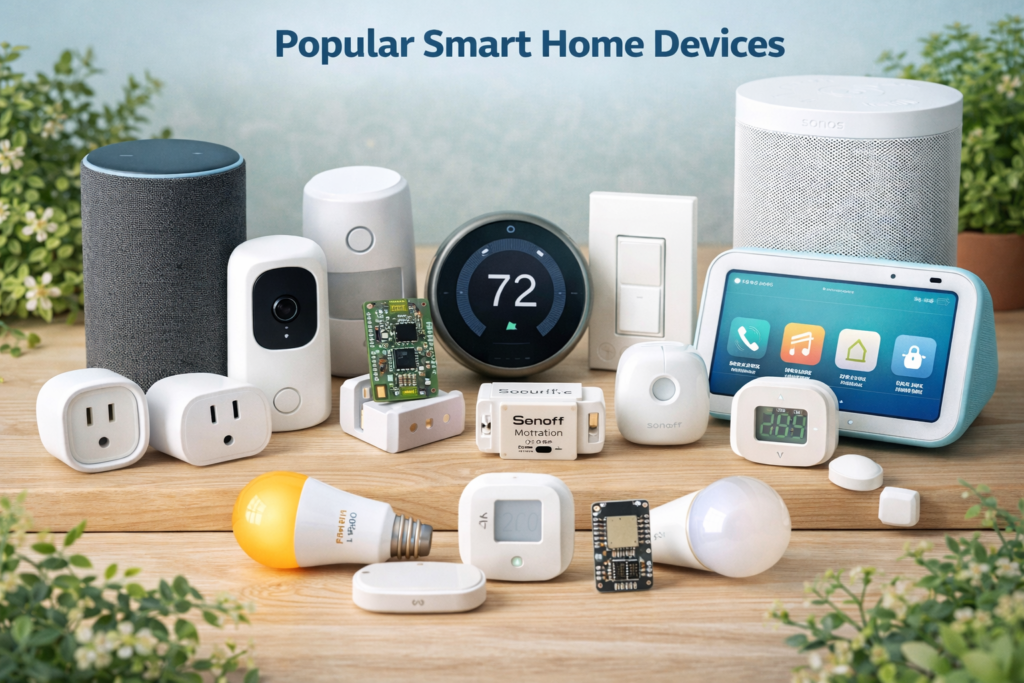
💡 Tip: Start with 1–2 devices that solve real problems, then expand gradually.
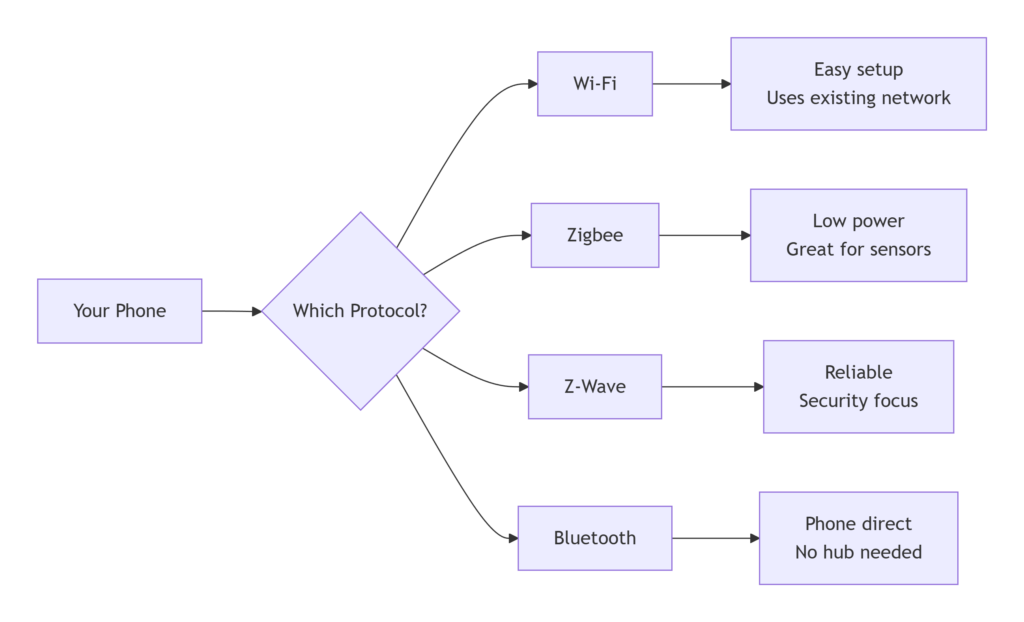
3️⃣ Network Protocols (Wi-Fi, Z-Wave, Zigbee…)
A reliable network Protocol is essential for communication between devices. Think of them like languages, and here we have the most popular ones with a brief explanation:
- Wi-Fi: Most beginner devices use Wi-Fi (Easy setup, Works with Raspberry Pi or smart hubs)
- Zigbee/Z-Wave: Used for low-power devices like sensors or lights; may require a hub or USB dongle for Raspberry Pi.
- Matter: A new universal language for smart home devices
- Use a strong Wi-Fi signal where devices are installed.
- Avoid mixing too many different protocols until you’re comfortable.
4️⃣ Smart Home Software (Your Control Platform)
The software lets you connect devices, create automations, monitor sensors, and control your home from a phone or computer. Without software, your smart devices remain isolated and can’t “talk” to each other.
This Software can run on a hub like a Raspberry Pi, a dedicated server, or even some microcontroller hubs, such as ESP32 (for small setups):
- Home Assistant (Raspberry Pi): Free, highly flexible, supports almost every device.
- Node-RED: Visual programming for automations; often used with Raspberry Pi or ESP32.
- Vendor apps: e.g., Philips Hue App or TP-Link Kasa App (simplest but limited automation).
I recommend that you:
- Start with Home Assistant on Raspberry Pi for the best learning experience.
- Use vendor apps first if you only have 1–2 devices and want to experiment quickly.
5️⃣ Optional: Voice Assistant
While not strictly required, having a voice assistant can make your smart home easier to control.
Voice assistants, including Alexa, Google Home, or Siri, are Great for hands-free control, especially for lights or reminders.
| Device | Voice Assistant | Price Range | Best For |
|---|---|---|---|
| HomePod Mini | Siri | $99 | Apple ecosystem users |
| Echo Dot (5th Gen) | Alexa | $25-$50 | Broad compatibility |
| Nest Audio | Google Assistant | $99 | Google/Android users |
| Ecobee SmartThermostat | Built-in Alexa | $249 | Climate control + voice |
✅ Quick Summary: Beginner Essentials
| Component | Beginner Recommendation |
|---|---|
| Controller (hub) | Raspberry Pi with Home Assistant |
| Devices | Smart bulbs, smart plug, motion/temperature sensors |
| Network | Wi-Fi (stable) |
| Software | Home Assistant or vendor apps |
| Power/Accessories | Starter kit with Pi, SD card, power supply |
| Optional | Smartphone or voice assistant |
What Should You Learn Next?
Now that you understand the basics of smart homes and some simple automations, it’s time to take the next steps to start building your own system:
- Buy one or two smart plugs and plug something in
- Install Home Assistant on Raspberry Pi
- Build your first smart lighting project
- Use an ESP32 for smart and custom sensors
- Create some interesting automation rules
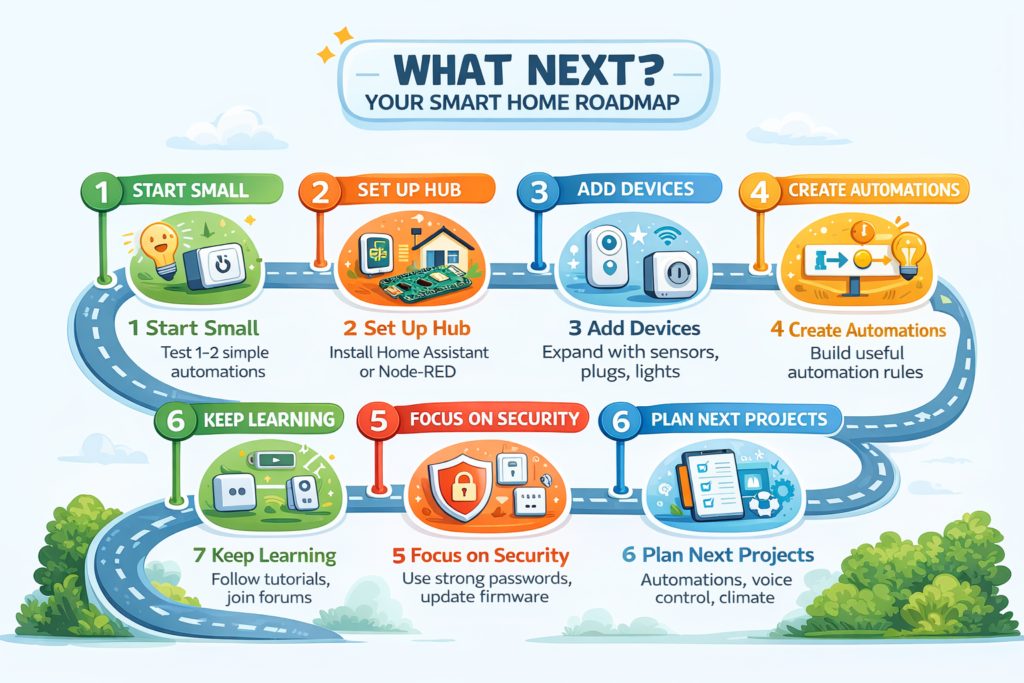
These topics will be covered in upcoming tutorials
Getting started with a smart home doesn’t have to be complicated. With the right approach, a few devices, and beginner-friendly tools like Raspberry Pi and Home Assistant, anyone can build a powerful and flexible smart home system.