Beginner’s Guide to Raspberry Pi: Everything You Need to Get Started 🎯
In this beginner-friendly guide, you’ll learn what Raspberry Pi is, what you need to get started, and how to set it up for your first use—even if you have zero experience.
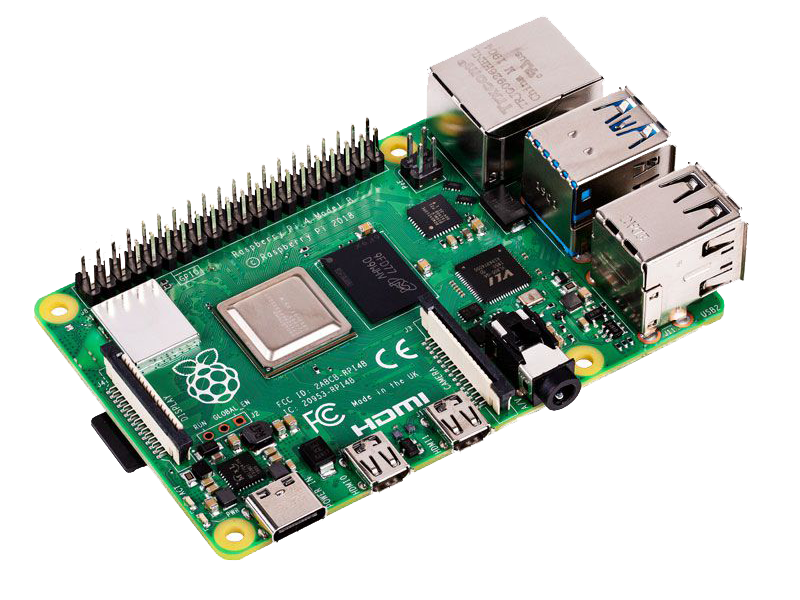
What Is a Raspberry Pi?
It is a small, affordable, single-board computer developed by the Raspberry Pi Foundation. Despite its tiny size—roughly the size of a credit card—it can perform many of the functions of a regular desktop computer. It’s widely used for learning programming, electronics projects, and even building small gadgets or servers.
Here’s some of it’s main key features:
- Single-board computer: Includes a CPU, RAM, USB ports, HDMI output, networking, and GPIO pins for hardware projects.
- Compact and inexpensive: Costs typically range from $50 to $75 (for Pi 5 with more features).
- GPIO pins: Stands for General Purpose Input/Output pins. These allow you to connect sensors, LEDs, motors, and other electronics for DIY projects.
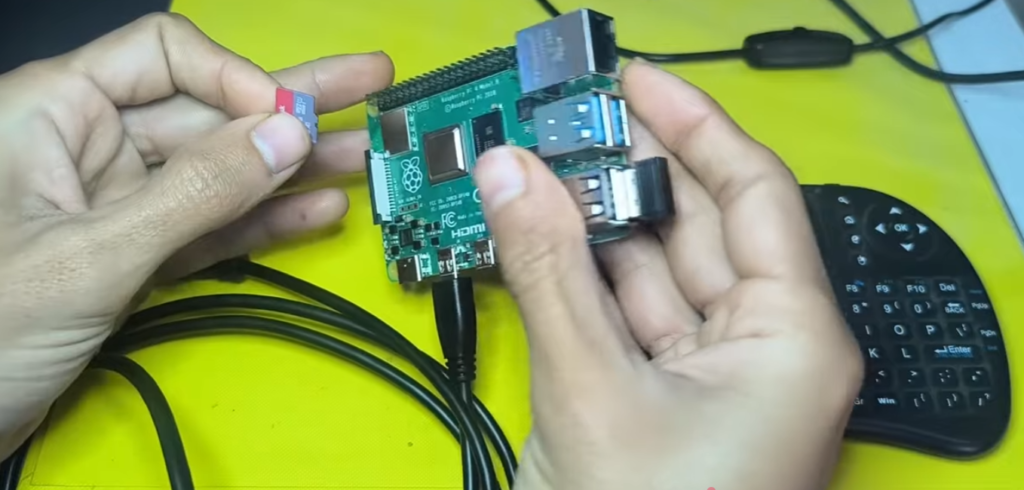
What You Need to Get Started?
To get started with your Raspberry Pi, you’ll need the following:
- Raspberry Pi (4 or 5 recommended)
- Boot media: microSD card (16GB+)
- Power supply
- Micro HDMI cable
- Keyboard & mouse
- And a monitor
💡 You can also use Raspberry Pi without a monitor (headless setup). With a basic starter kit and a network connection, you can control your Raspberry Pi remotely from another computer.
Now that you have all your hardware ready, it’s time to get hands-on. Follow these steps carefully to install the official Raspberry Pi OS and start your journey.”
Installing Raspberry Pi OS
Raspberry Pi OS is the official operating system for Raspberry Pi devices. It’s based on Linux and comes preloaded with tools and software to help you start programming, learning electronics, and exploring DIY projects.
Step 1: Download Raspberry Pi Imager
Raspberry Pi Imager is the official tool used to install Raspberry Pi OS on an SD card.
- Download Raspberry Pi Imager for your operating system
- Install and open the Raspberry Pi Imager application
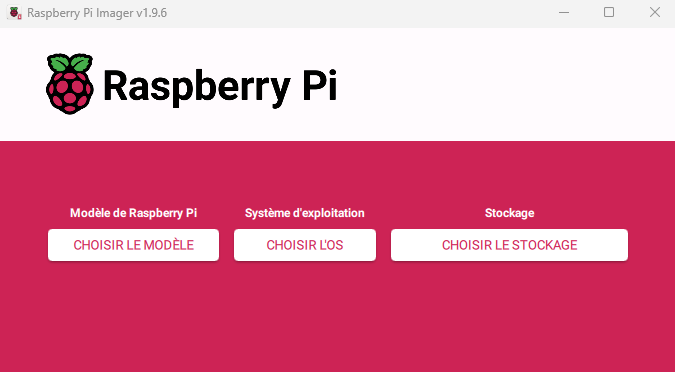
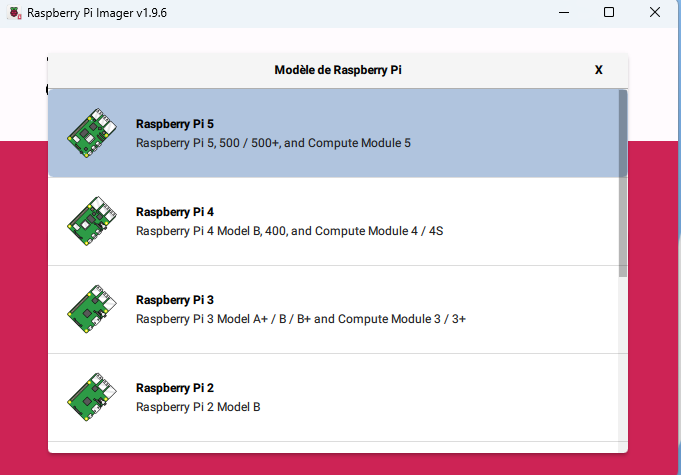
Step 2: Configure the fundamentals (Pi and OS Version)
- Click on “Choose Device (Raspberry Model)” and Select Your Raspberry Pi 5 or 4
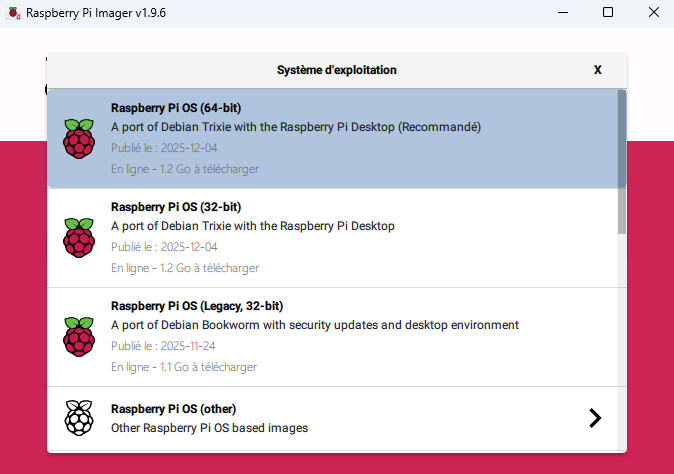
2. Select Choose OS and select the version you want:
- Raspberry Pi OS Lite → No desktop (advanced users)
- Raspberry Pi OS (64-bit) → For newer models
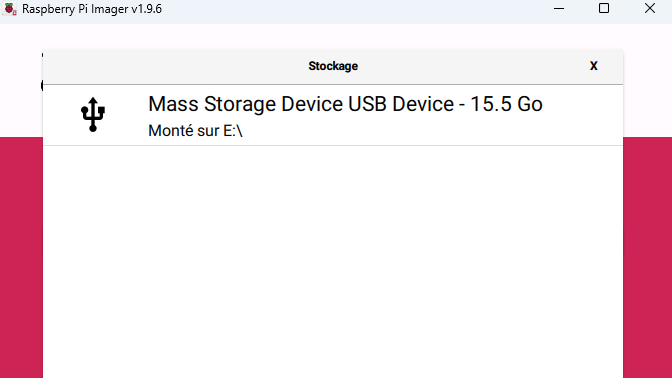
3. Insert the SD Card into your Computer and Select it carefully ⚠️to avoid data loss using the last tab “Choose Storage”:
Step 3: Customize Raspberry Pi OS Settings
Before writing the OS to your SD card, Raspberry Pi Imager allows you to configure some important settings. This is especially useful if you want to set up your Raspberry Pi without a monitor (headless setup).
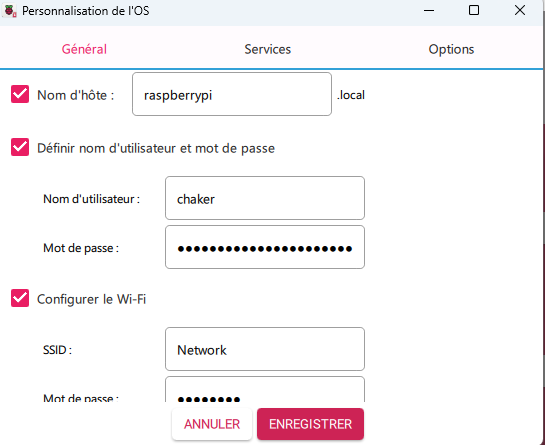
✅ In Raspberry Pi Imager, click the gear icon (⚙️) before writing the OS. You’ll see options to configure the :
1. Username & Password
- Set your preferred username and password instead of using the default.
- This helps improve security and makes it easier to log in.
2. Configure Wi-Fi
- Enter your network name (SSID) and Wi-Fi password.
- This ensures your Raspberry Pi connects automatically once it boots.
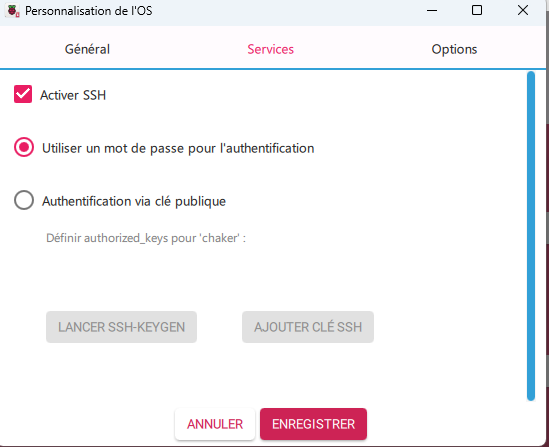
3. Enable SSH (Under Services)
- Turn on SSH to access your Pi remotely via another computer.
- You can choose to allow password authentication or use an SSH key.
Step 4: Write Raspberry Pi OS to SD Card
- Click “Save” Then “Yes“
- Confirm the warning (this will erase the SD card)
- Wait for the process to complete (this may take a few minutes)
Once finished, the imager will verify the installation automatically.

Step 5: Boot Your Raspberry Pi
Make sure your Raspberry Pi is powered off. Insert the microSD card into the Raspberry Pi. Then connect your keyboard, mouse, monitor, and finally, plug in the power supply to turn it on.
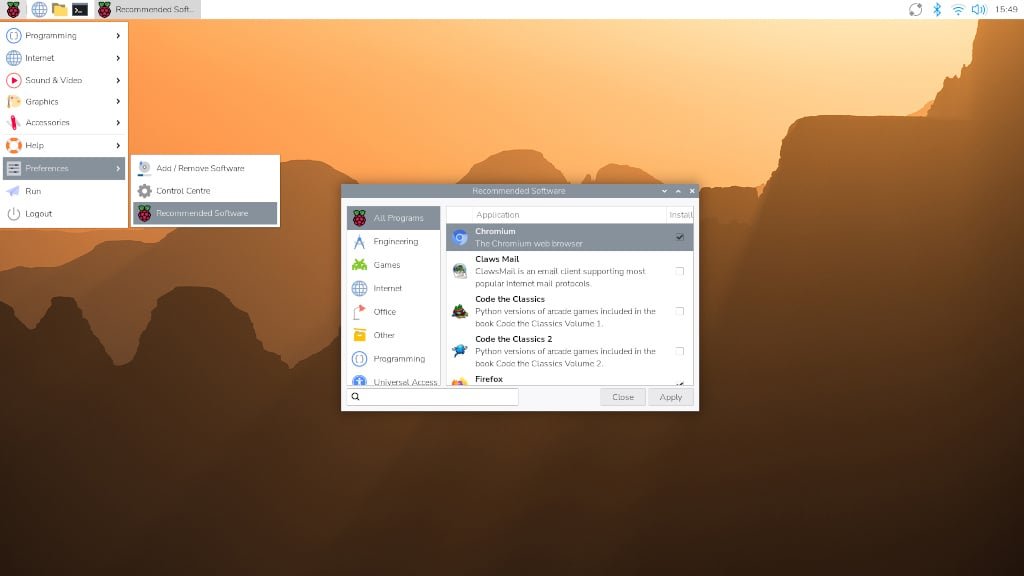
🎉 Your Raspberry Pi OS will boot for the first time!
Installing Raspberry Pi OS is simple and beginner-friendly. Once completed, you can:
- Explore programming with Python
- Build electronics projects
- Create servers or automation systems
🚀 What’s Next?
If you want to use your Raspberry Pi without connecting a monitor, you can set it up to run headlessly. This is great for remote access, servers, or IoT projects.