🖨️ Getting Started with 3D Printing (Creality)
3D printing is no longer just for engineers or big companies. Today, anyone can design, create, and manufacture objects at home with an affordable 3D printer.
In this guide, I’ll share my experience getting started with 3D printing using my new Creality Ender-3 V3 SE, one of the best beginner-friendly printers available today.
🔰 What Is 3D Printing?
3D printing is a manufacturing process where objects are created layer by layer from a digital 3D model.
Instead of cutting material like traditional manufacturing, a 3D printer adds material only where needed, making it efficient and accessible.
You can use 3D printing to:
- Print replacement parts
- Build electronic enclosures
- Prototype ideas (like animatronic eyes)
- Make decorative and fun objects
🖨️ Why I Chose the Creality Printer?
The Creality Ender-3 series is well known in the maker community, and the V3 SE is a modern upgrade that focuses on ease of use.
⚙️4 Main Key Features:
🔹 Automatic Bed Leveling (CR-Touch)
This feature automatically measures the bed height at multiple points, ensuring a good first layer without manual adjustment.
🔹 Direct Drive Extruder
The filament is pushed directly into the hotend, improving extrusion accuracy and making it easier to print flexible materials later.
🔹 Fast Printing
The printer supports higher speeds while maintaining good quality, saving time on longer prints.
🔹 Silent Motors
The printer runs quietly, making it suitable for home or office use.
🔧 Assembling the Printer
Assembly is simple and takes 20–30 minutes:
- Attach the gantry
- Connect the cables (labeled)
- Mount the screen
- Install the filament holder
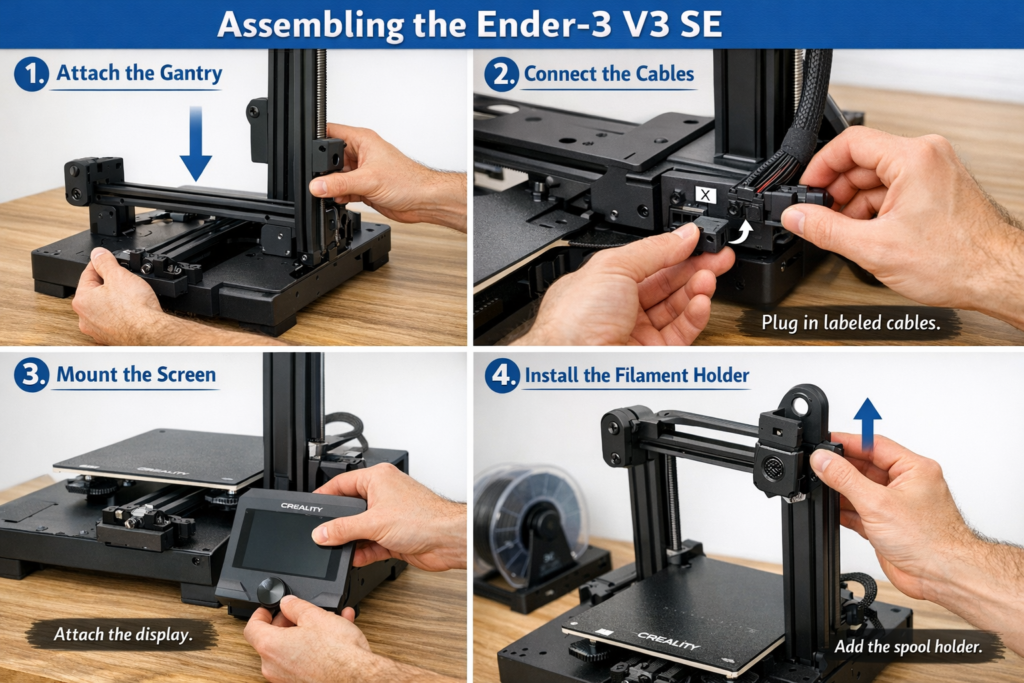
💡 Tip: Double-check all screws and cable connections before powering on.
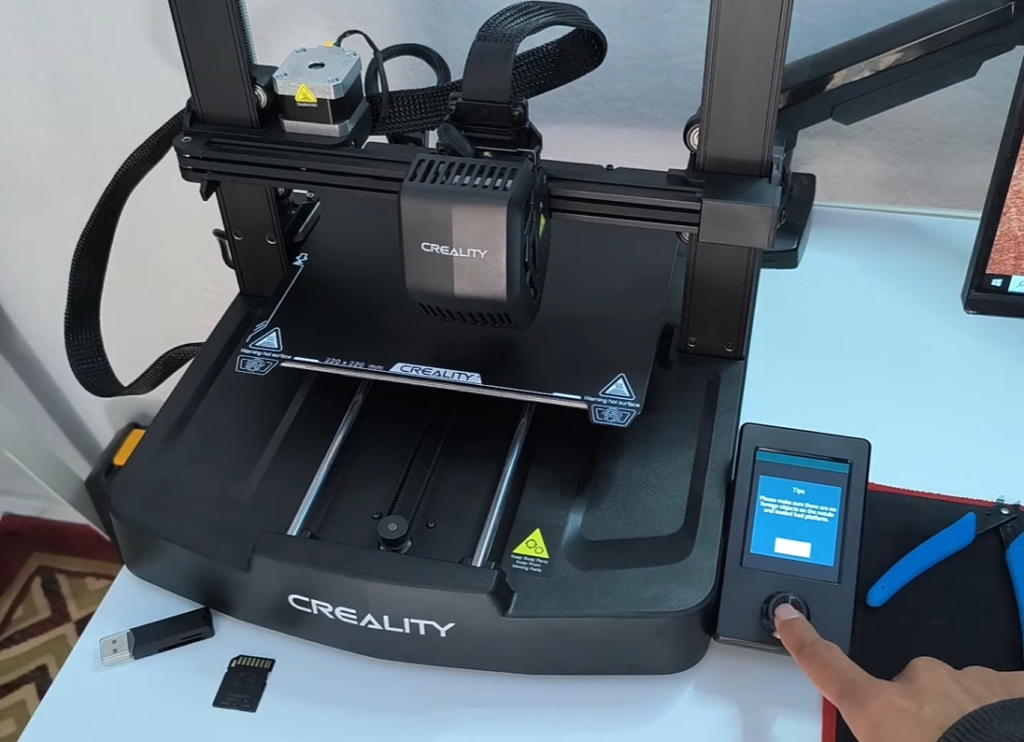
🔌 First Power-On & Calibration
⚡Before plugging in the printer, make sure to check the power supply for the correct AC voltage. The Ender-3 V3 SE usually comes with a switch to select between 110V and 220V, depending on your region. ⚠️ Choosing the wrong voltage can permanently damage the printer or create a safety hazard, so always double-check this setting.
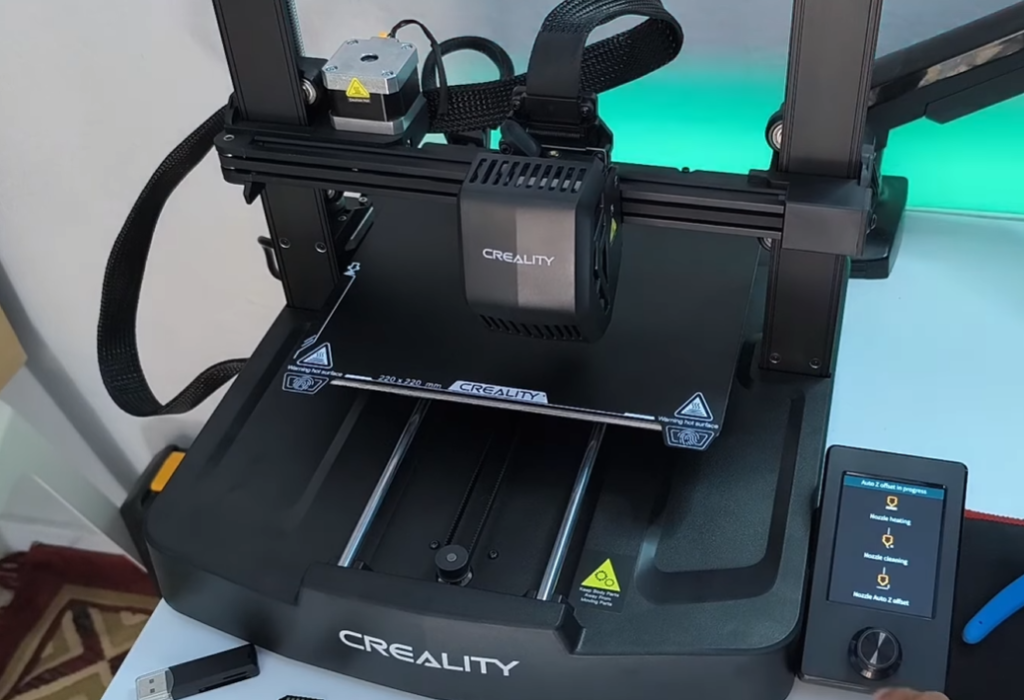
Once the correct voltage is selected, you can safely connect the printer to the wall outlet and proceed with powering it on. The touchscreen will light up and display the main menu. It is essential to run the automatic bed leveling process.
- Select Auto Bed Leveling
- Let the CR-Touch probe the bed
- Adjust the Z-offset (very important)
What Is Z-Offset?
It controls how close the nozzle is to the print bed.
If it’s too high → filament won’t stick
If it’s too low → nozzle scrapes the bed
Take your time here—it makes a huge difference.
🧵 Loading Filament (PLA)
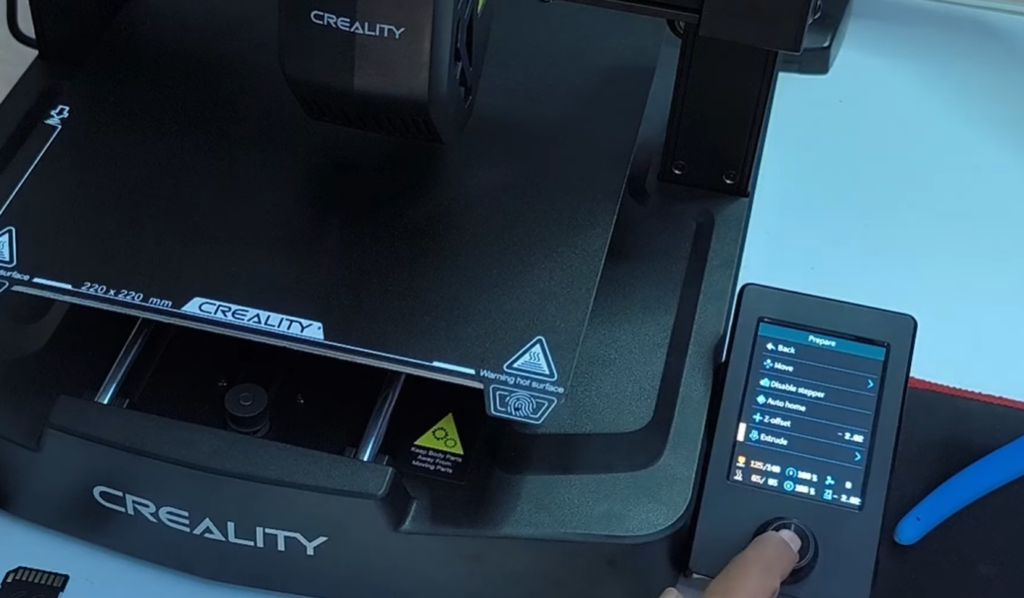
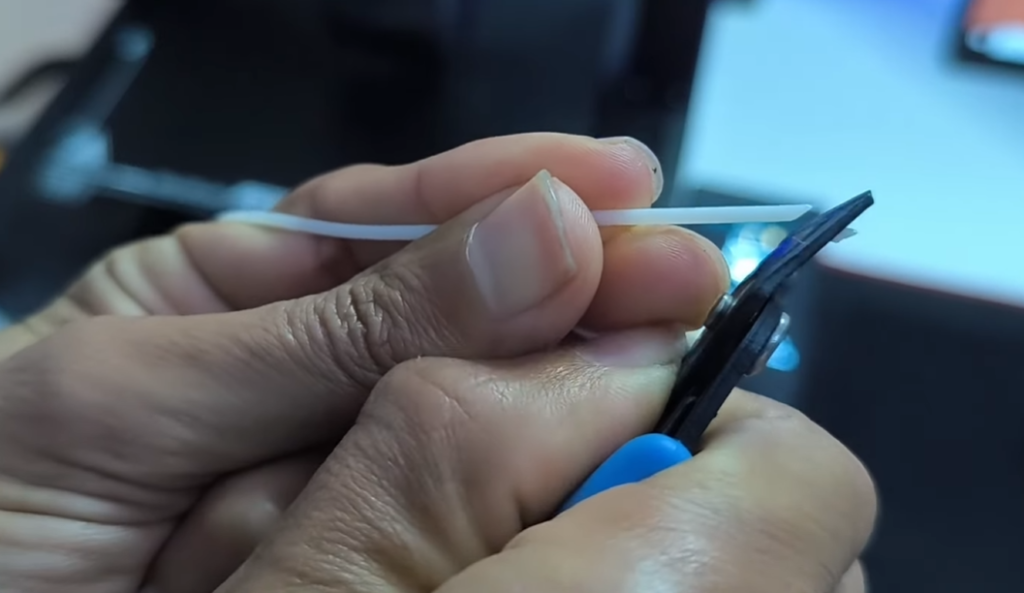
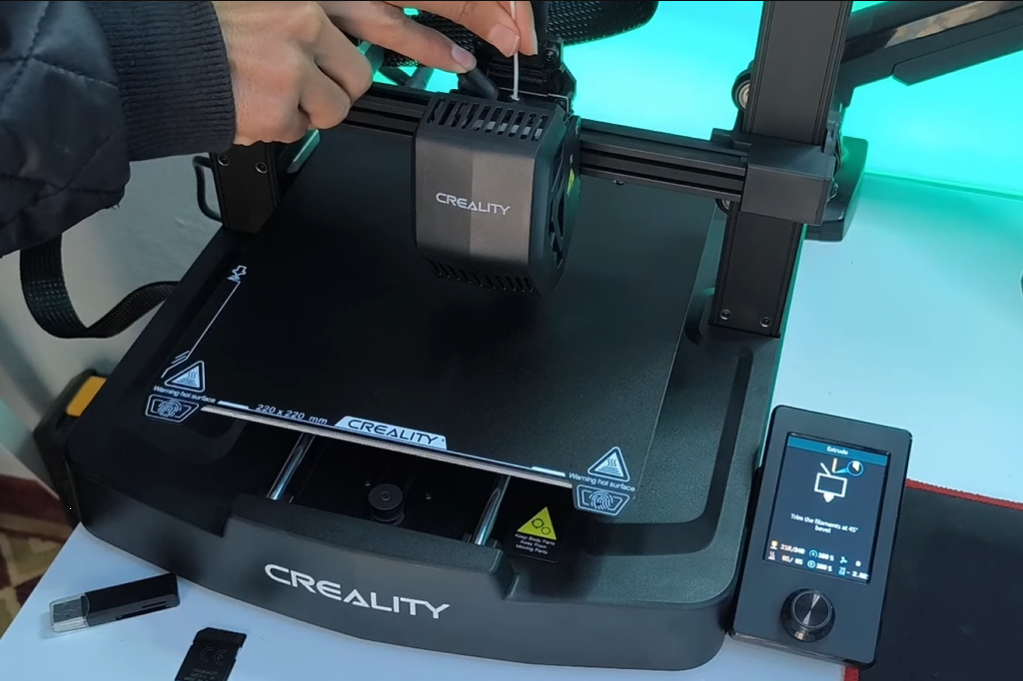
Before loading filament, preheat the nozzle using the printer’s menu (Go to Prepare => Extrude). Once the nozzle reaches the target temperature, cut the end of the filament at a slight angle (~ 45°) and insert it into the extruder. Gently push the filament until you see melted plastic coming out of the nozzle. This confirms that the filament is feeding correctly and is ready for printing.
For beginners, PLA filament is highly recommended because it is easy to print, sticks well to the bed, and does not require an enclosed printer.
🧪 First Test Print
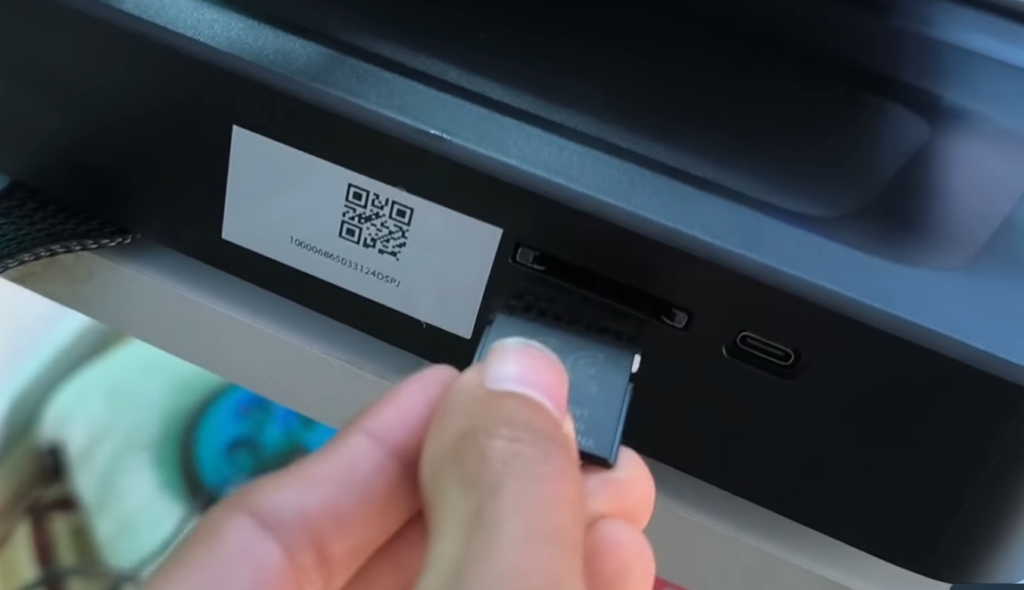
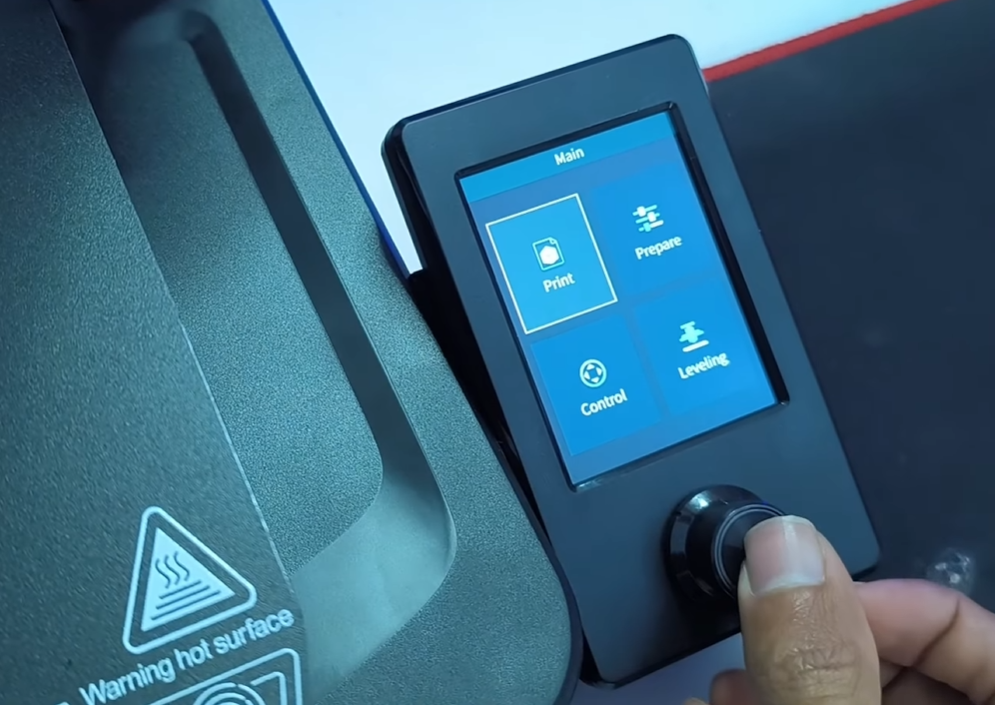
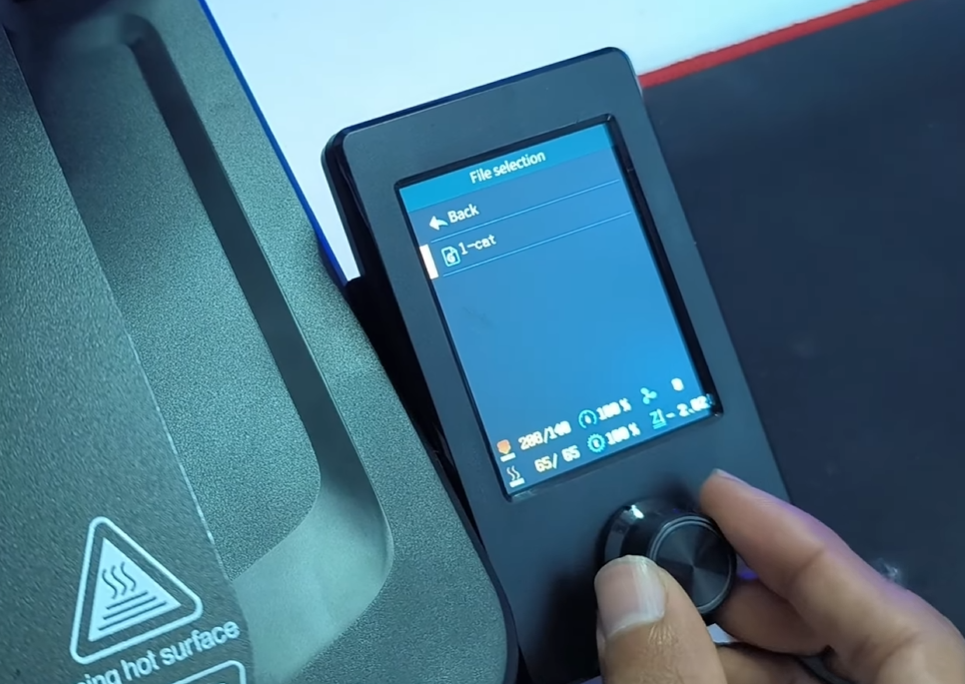
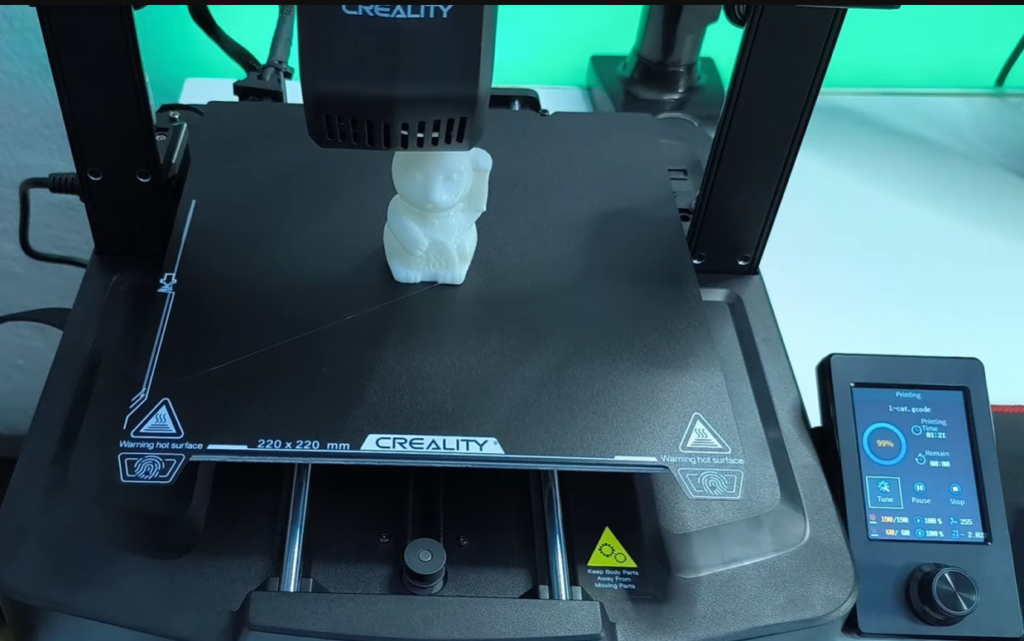
Once the printer is powered on, leveled, and the filament is loaded, it’s time to try your first print. The Ender-3 V3 SE comes with a preloaded test print file on an SD Card, which is perfect for beginners.
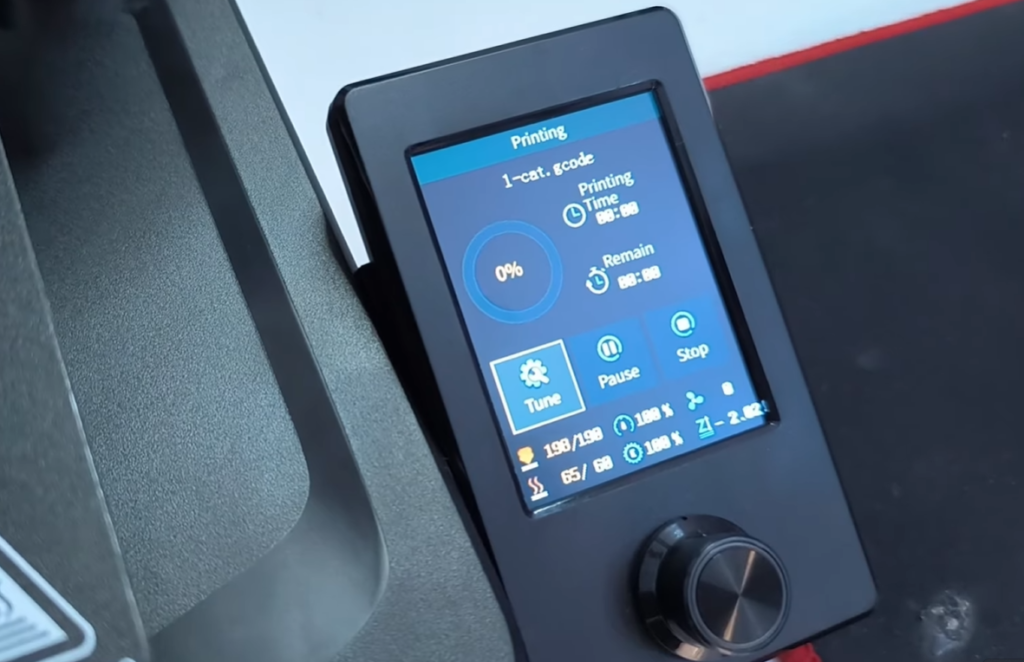
During the print, observe how the printer moves and extrudes the filament. Your first print may not be perfect, but it is a great way to learn how the machine behaves and to gain confidence in 3D printing. Once it finishes, allow the bed to cool and carefully remove the printed object.
After you’ve tried the test print and feel comfortable with the basics, the next step is to explore more complex 3D models using slicer software.
⚠️ Common Beginner Problems & Solutions
Even with a beginner-friendly printer like the Ender-3 V3 SE, you may encounter a few common issues. Understanding them and knowing how to fix them will save you time and frustration.
❌ Print Not Sticking
- Clean the bed
- Adjust Z-offset
- Increase bed temperature slightly
❌ Stringing
- Lower nozzle temperature
- Enable retraction in slicer
❌ Layer Shifting
- Check belt tension
- Reduce print speed
❌ Under-Extrusion
- Check filament path
- Clean the nozzle
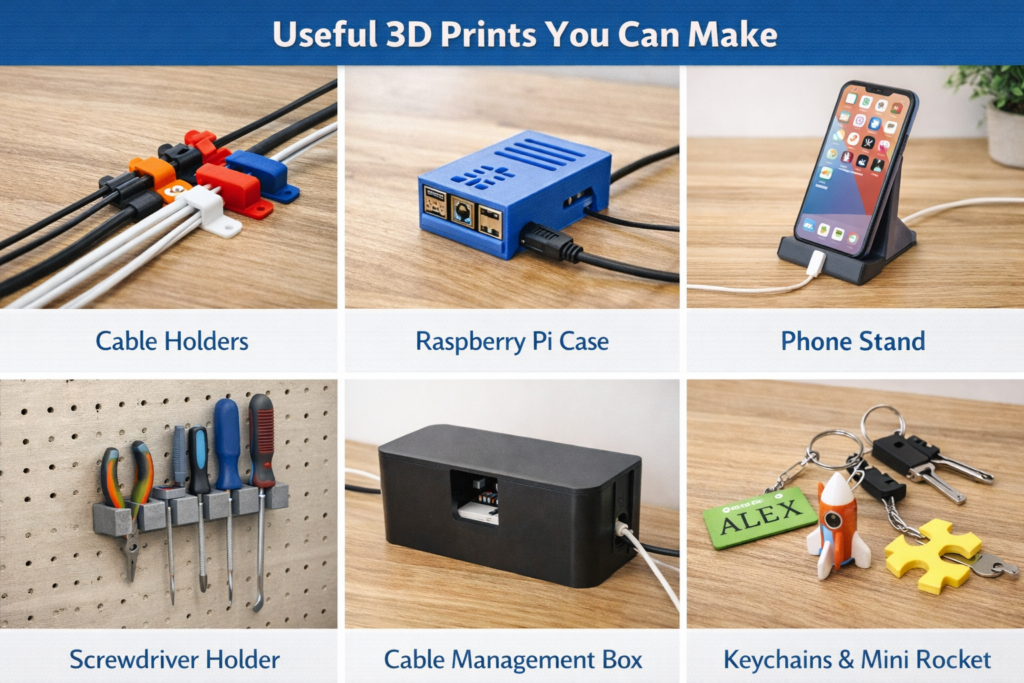
🧩 What Can You Print as a Beginner?
Once you’re comfortable with the printer, start with simple, practical projects to build confidence and learn how the printer behaves. Some beginner-friendly options include:
- Phone stands – great for your desk or bedside.
- Cable holders – perfect for keeping your workspace organized.
- Tool organizers – store small tools or screws neatly.
- Raspberry Pi / Arduino cases – protect your electronics and improve portability.
- Keychains and figurines – small, fun, and customizable prints that help you practice precision.
You can find free and ready-to-print models on popular websites such as:
🌐 You can find free and ready-to-print models on popular websites such as:
🧼 Maintenance Tips
A well-maintained printer produces better, more reliable prints and lasts longer. Here are some basic maintenance habits for your Ender-3 V3 SE:
- Clean the bed regularly to ensure good adhesion and prevent leftover filament from interfering with new prints.
- Check belt tension occasionally; belts that are too loose or too tight can cause layer shifting or poor movement.
- Clean the nozzle when you notice under-extrusion or rough filament flow.
- Store filament in a dry place, preferably in a sealed bag with silica gel, to prevent moisture absorption which can ruin prints.
Simple, consistent maintenance goes a long way in improving your 3D printing experience.
⭐ Is the Ender-3 V3 SE Worth It?
The Ender-3 V3 SE is one of the most accessible and beginner-friendly 3D printers on the market.
✅ Pros
- Easy to assemble and set up
- Automatic bed leveling with CR-Touch
- Direct drive extruder for more reliable prints
- Great value for its features
❌ Cons
- The build volume is limited for very large projects
- The screen interface is basic compared to higher-end models
🎯 Who Is It For?
This printer is ideal for:
- Beginners taking their first steps into 3D printing
- Students and makers experimenting with small projects
- DIY electronics enthusiasts who want to print functional parts
What is Next?
This is just the beginning of my 3D printing journey. In upcoming posts, I will cover:
- Advanced slicer settings for higher-quality prints
- Printing different materials beyond PLA
- Useful upgrades for the printer
- Practical 3D printing projects you can make at home
💬 If you have questions, ideas, or want to share your first prints, leave a comment below—I’d love to hear from you!